


Filming outside can give a video a natural sense of space, atmosphere and energy. But working outdoors also means giving up a lot of control. The sun doesn’t stay in one place, and the clouds rarely work to your schedule.
A good result depends on planning around those variables and being prepared to adapt on the day.
Working with the sun
The sun is often the biggest factor on an outdoor shoot. It can make a scene look bright and natural, but it can also create harsh shadows, blown-out highlights and uncomfortable conditions for the people on camera.
The time of day makes a big difference. Early morning and late afternoon often offer more flattering light, with the sun lower in the sky. Around midday, the higher sun can create strong shadows around the eyes and under the nose and chin.
When filming interviews or other footage featuring people, the goal is usually to shape the light rather than simply accept it. That might mean turning the subject away from direct sun, finding a patch of shade or choosing a background that isn’t much brighter than the person in front of it.
Sometimes a small change in position makes a big difference, before you’ve even brought out any equipment.
Negative fill, bounce and diffusion
There are a few different ways to control outdoor light. The trick is knowing when to add light, when to take it away and when to soften what’s already there.
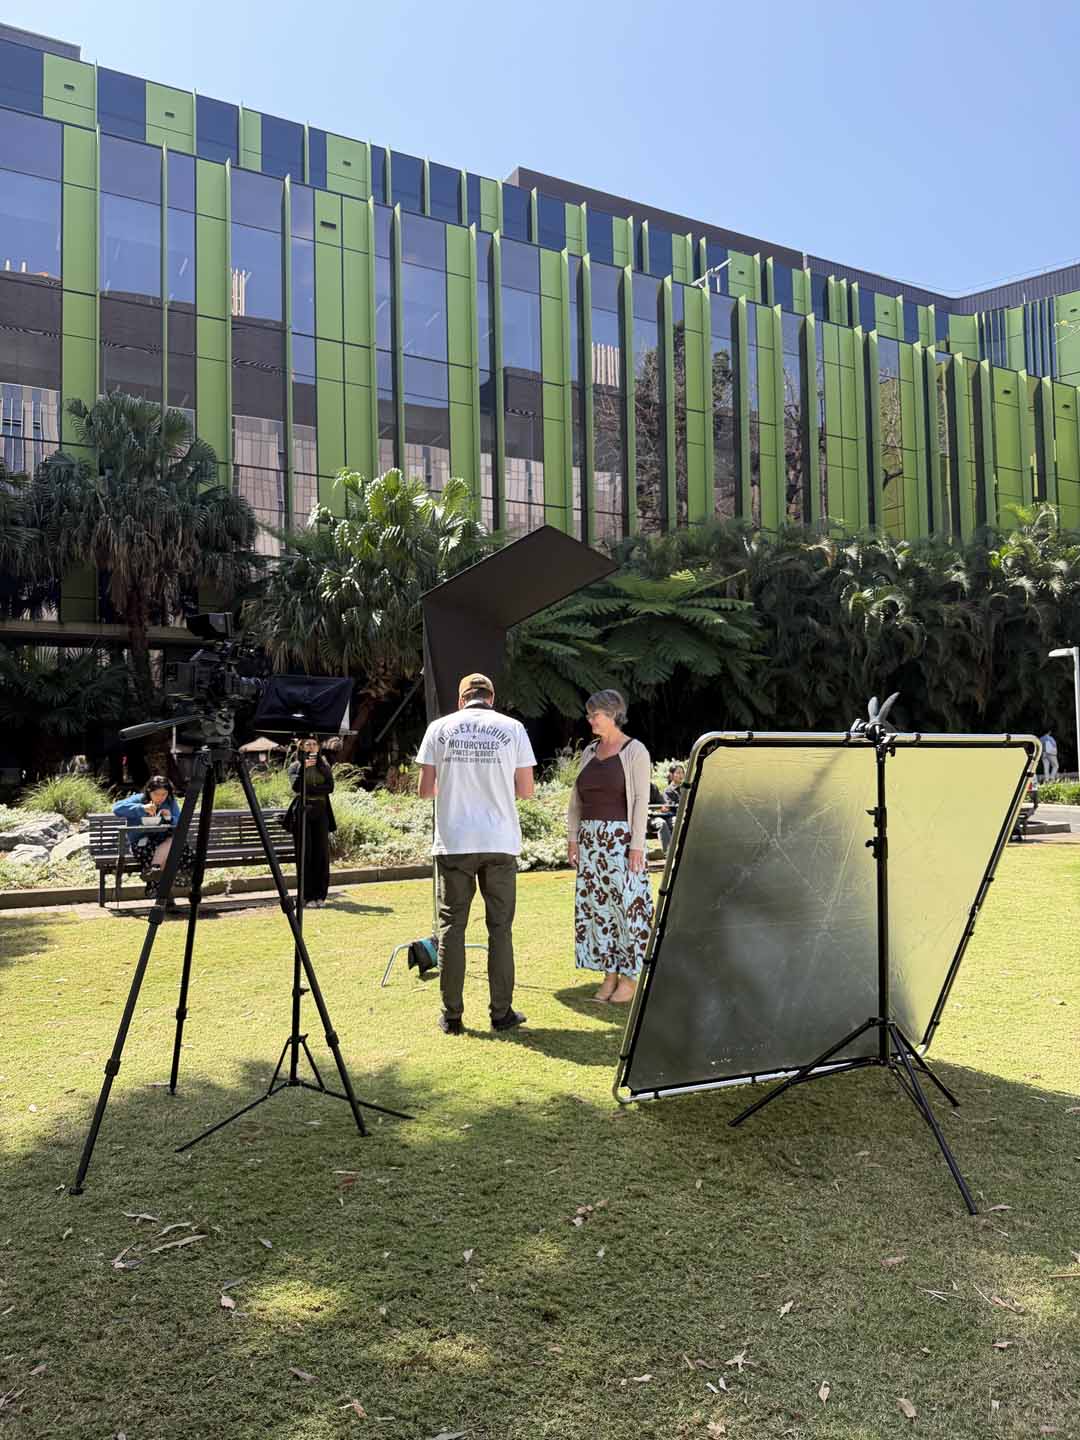
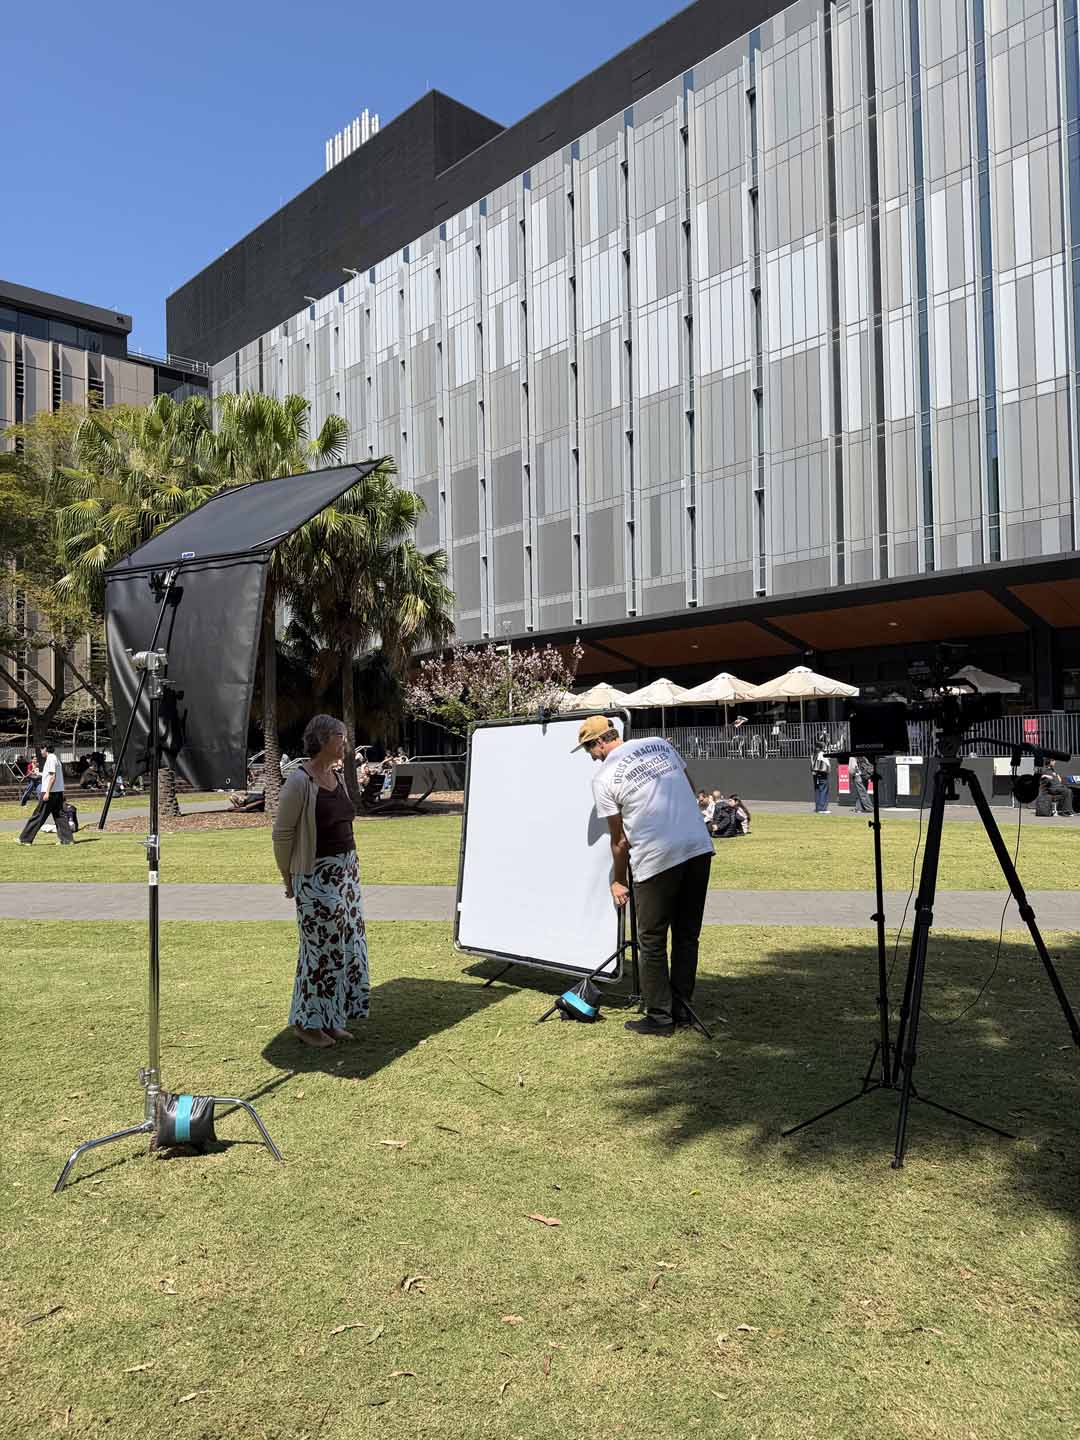
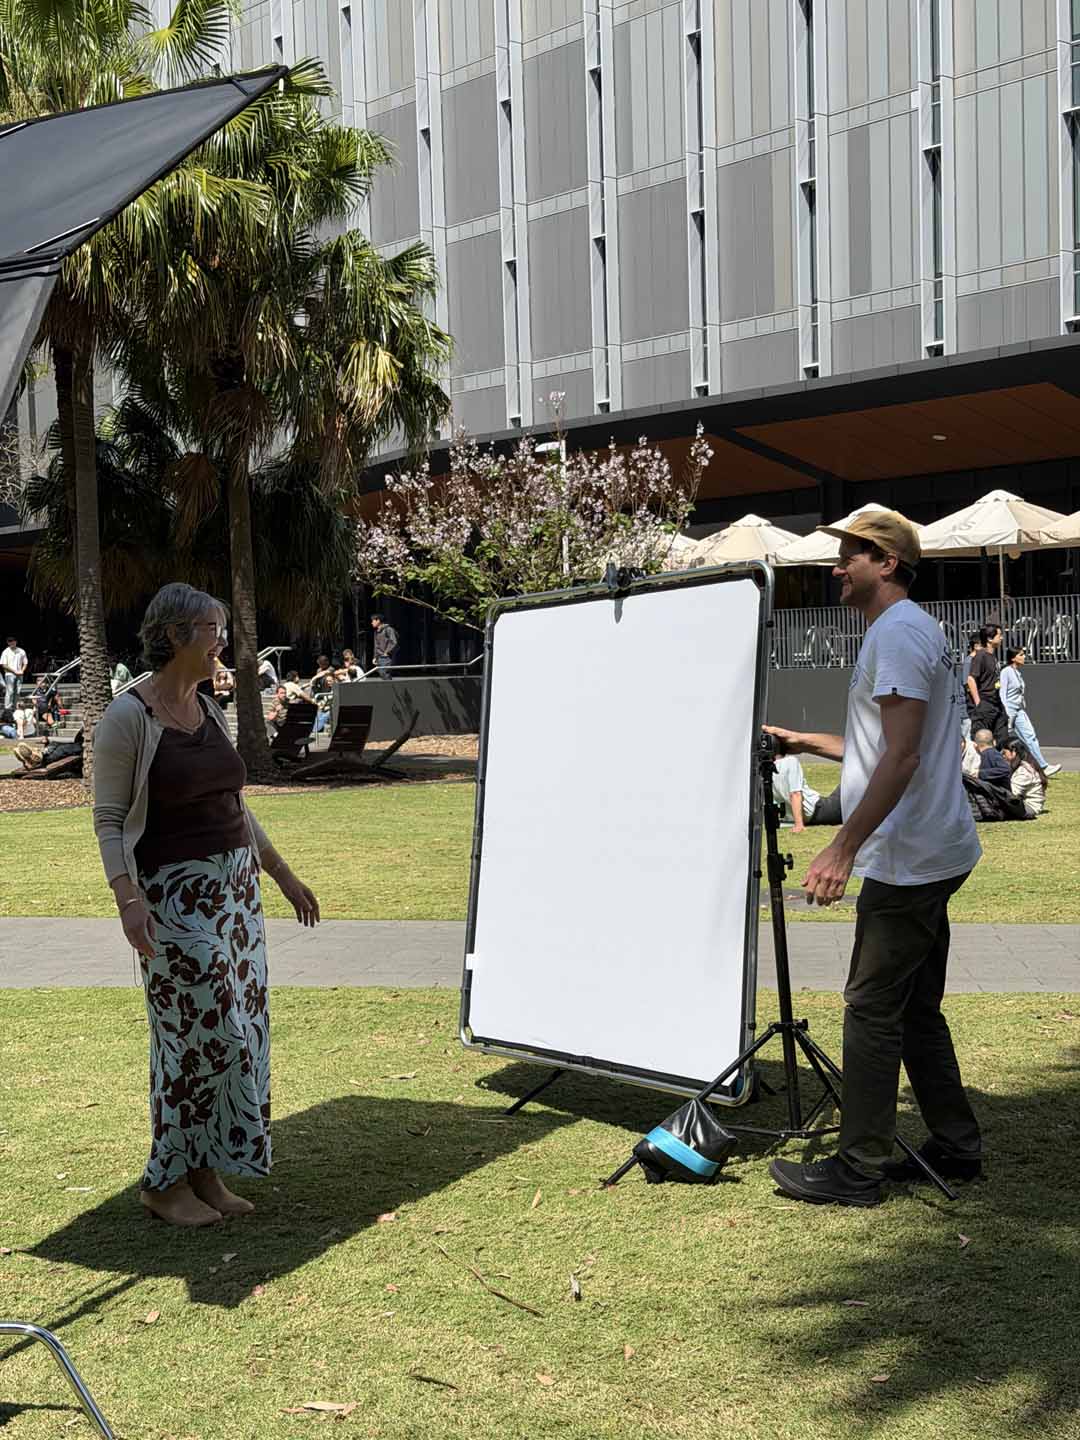
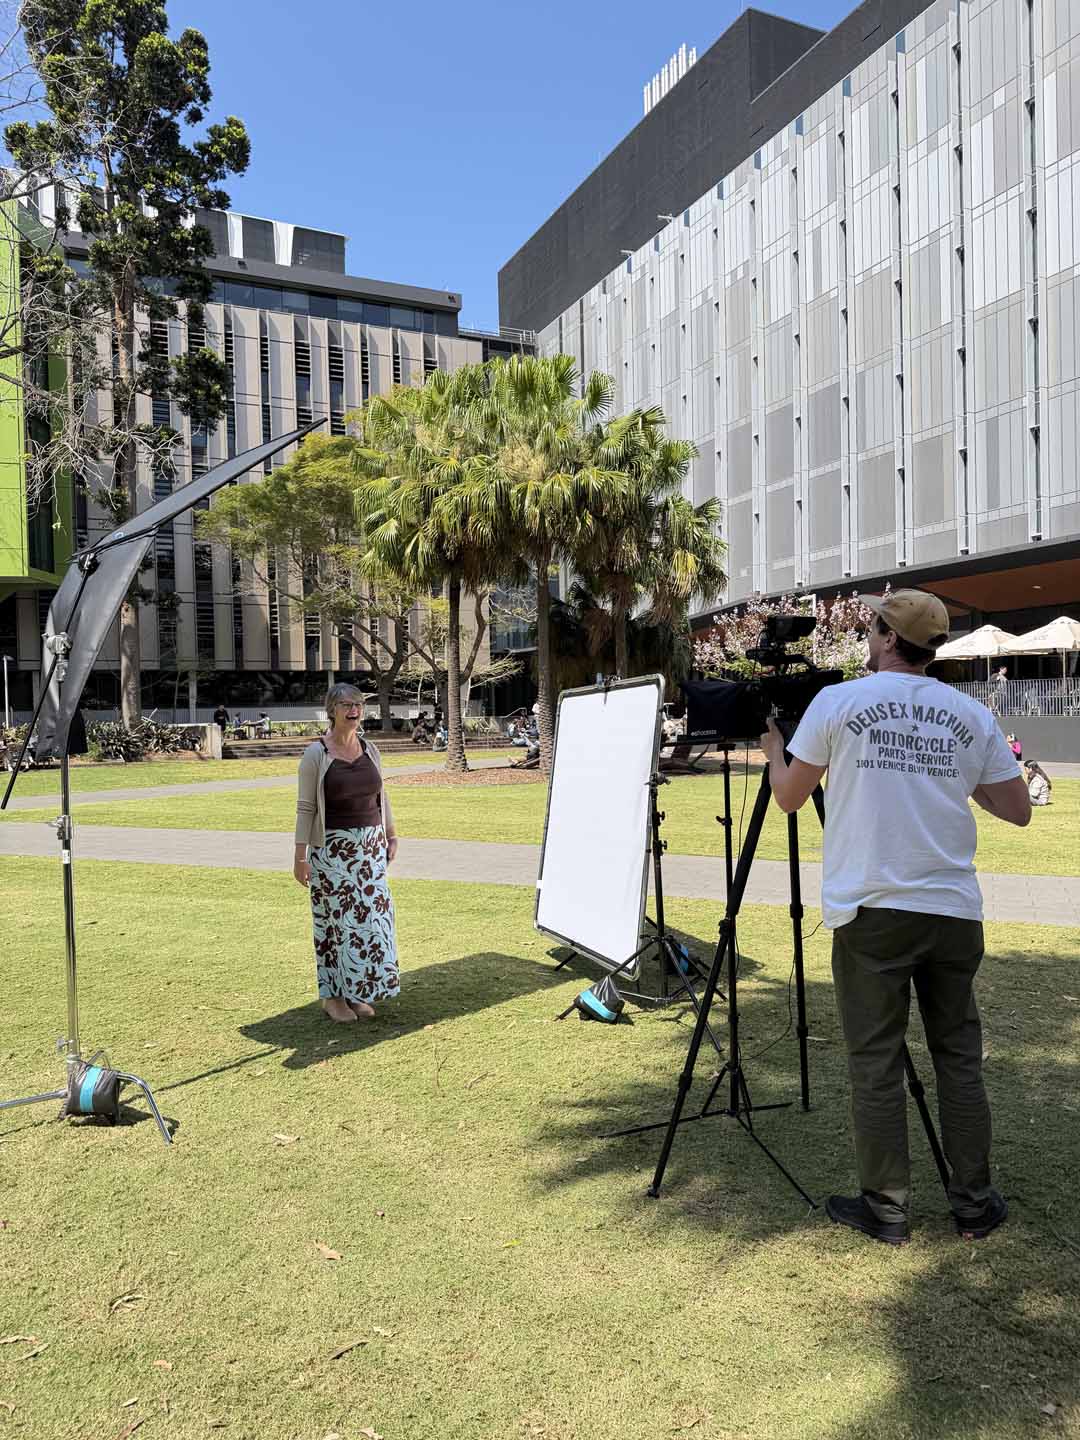
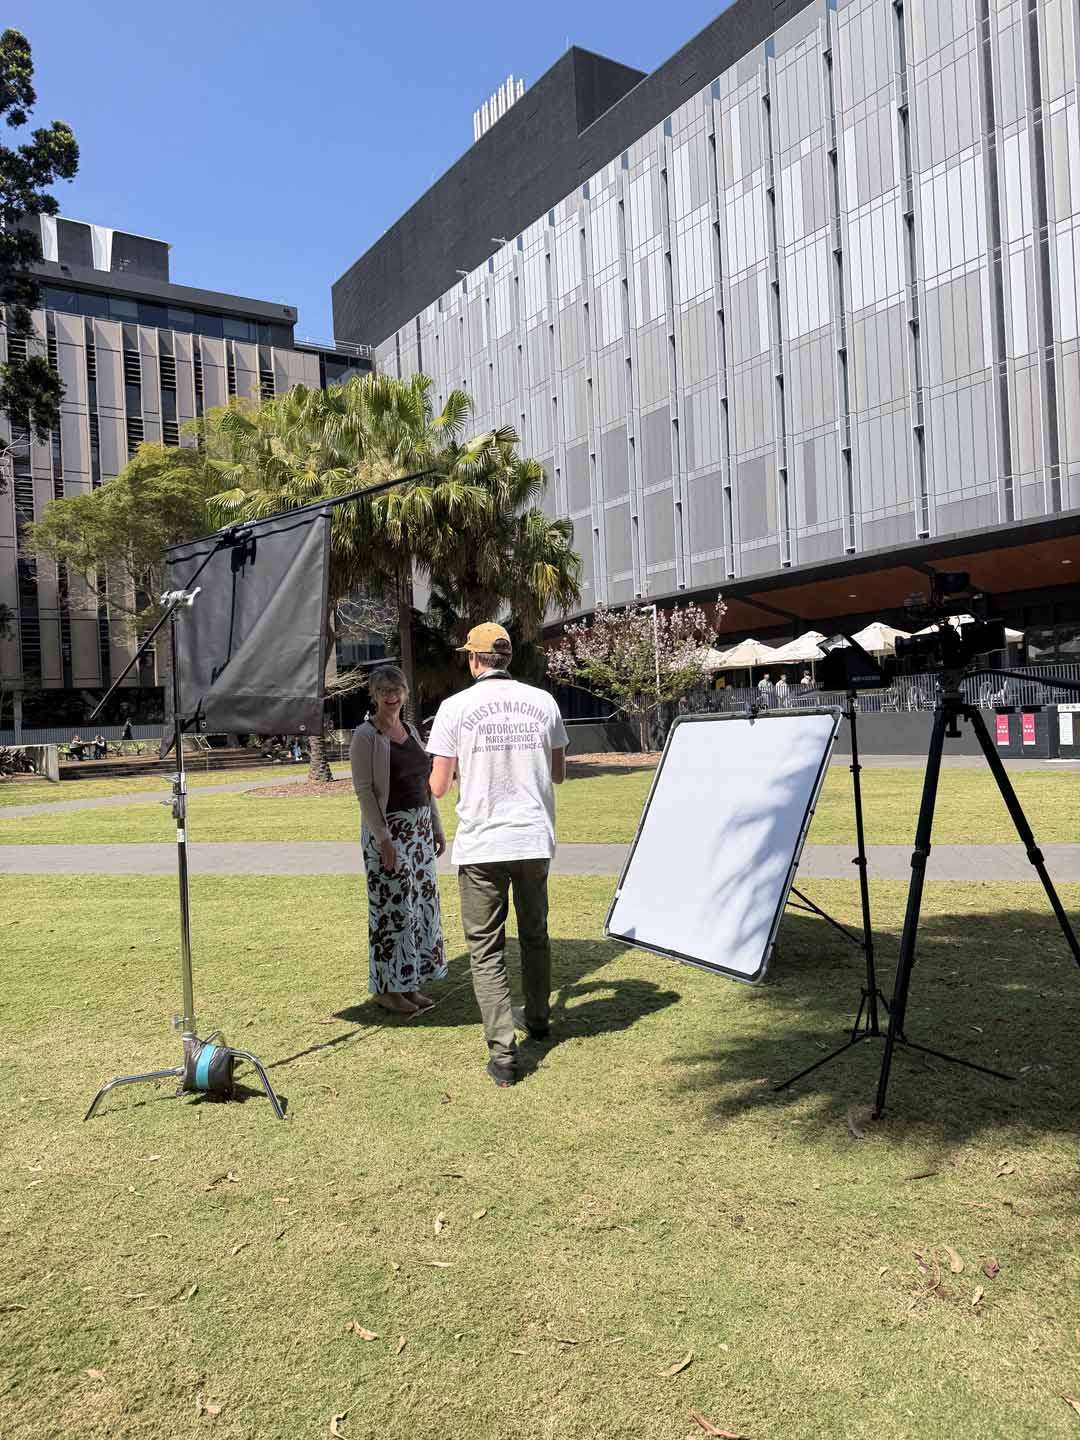
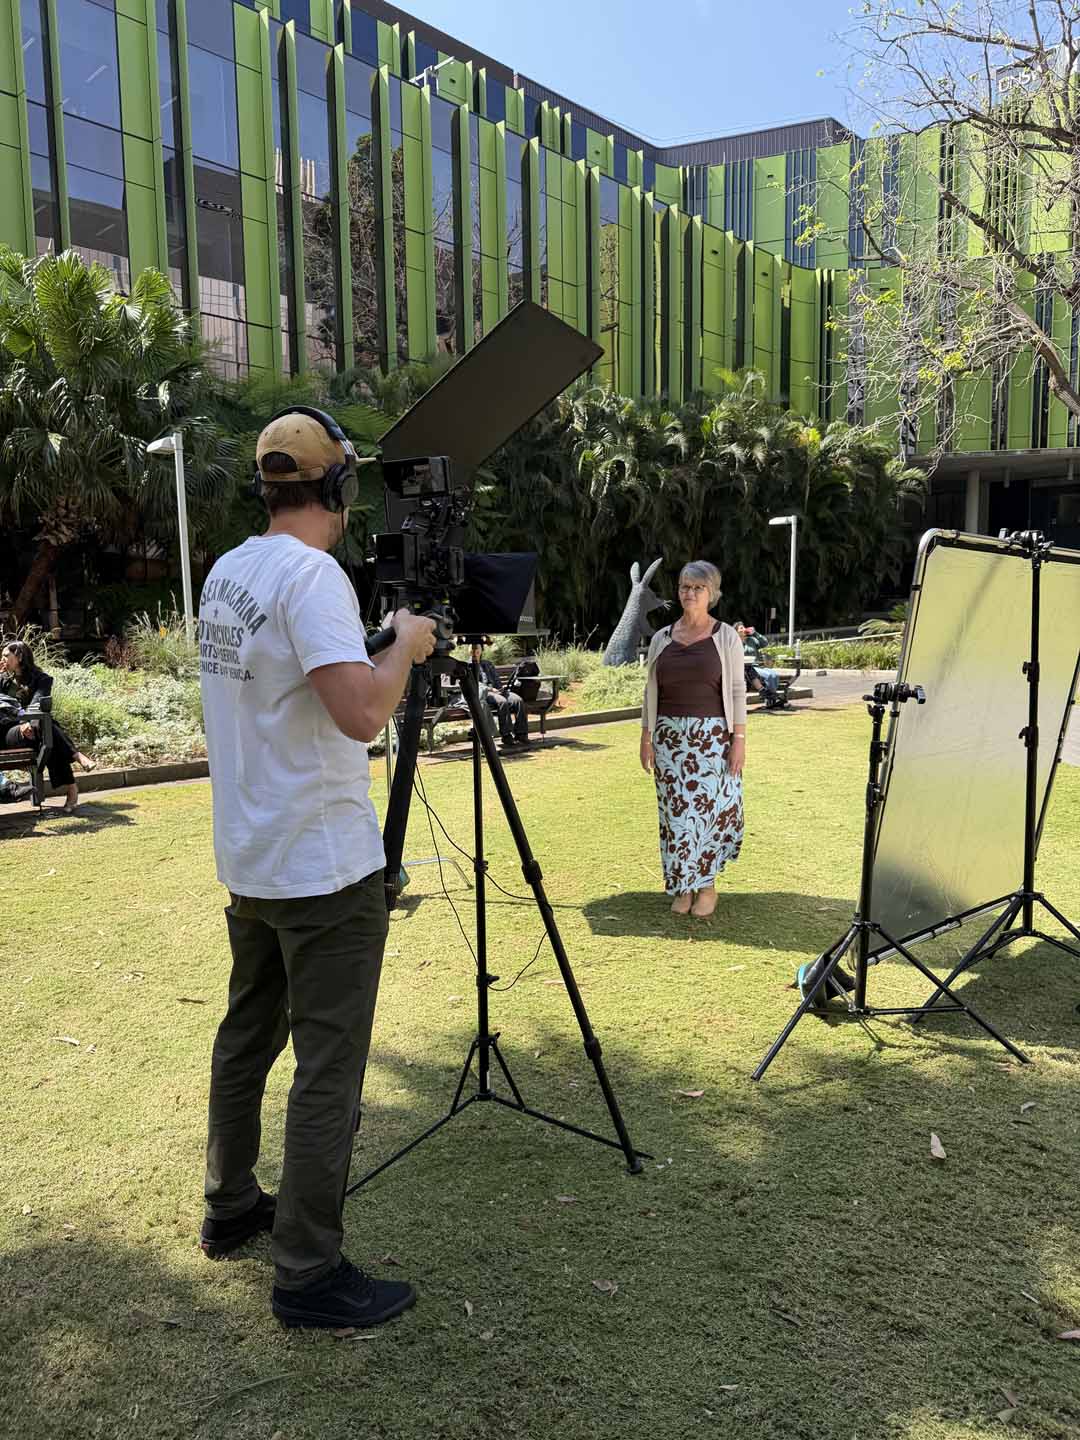
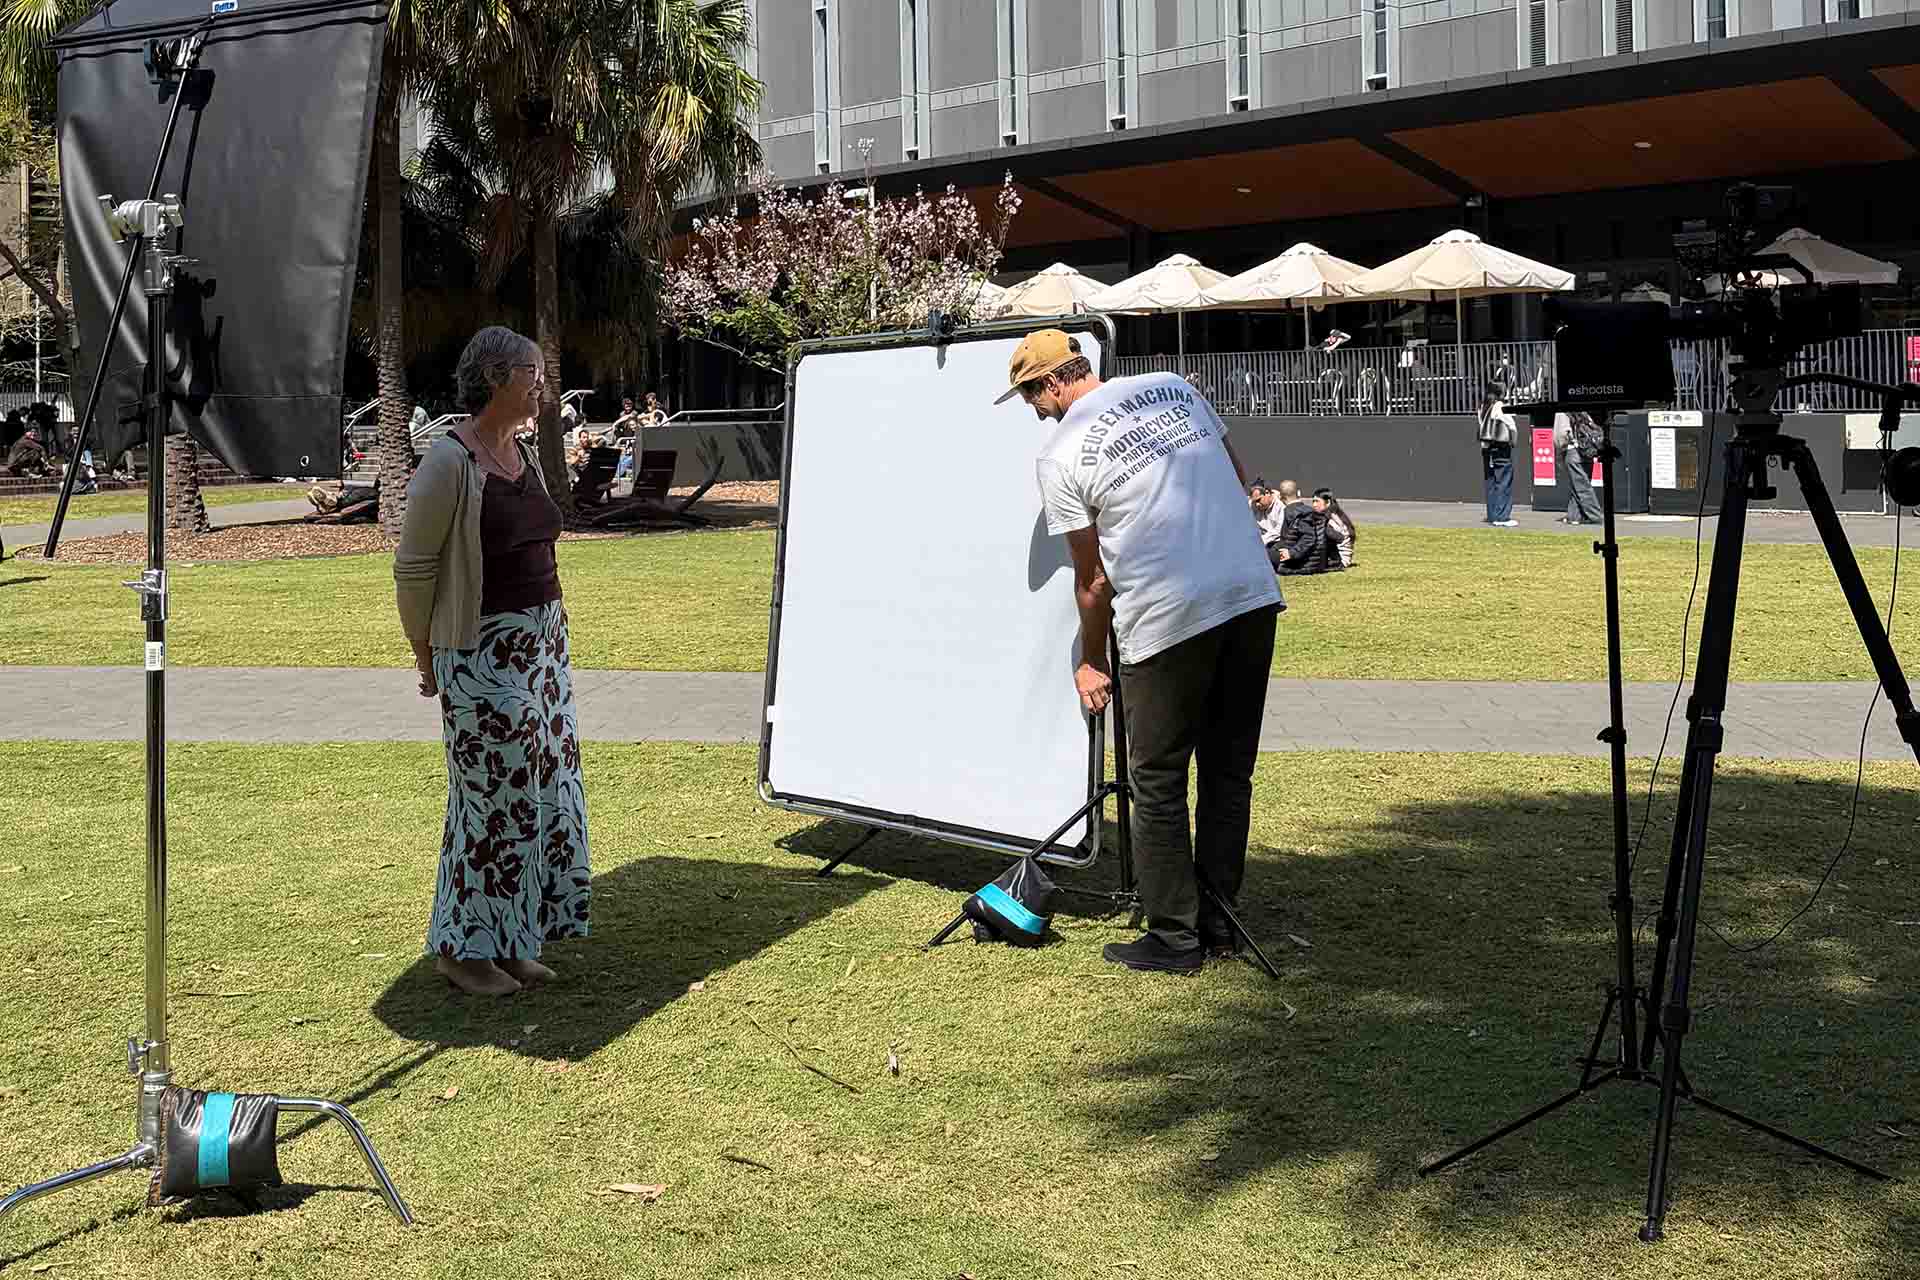
A bounce reflects light back onto the subject. This is useful when the face needs a little lift, especially if the background is bright or the subject is sitting in shade. A white bounce can give a gentle result without making the lighting feel too obvious.
A flag or solid frame can be used to take light away. Used as negative fill, it reduces the reflected light reaching one side of the face. This creates more shape and contrast when the lighting feels a little flat or washed out.
The same tool can also block direct sunlight from hitting the subject. This is a different job from negative fill: you’re cutting the harsh sun itself, rather than reducing reflected light. You can then use a bounce to bring softer light back onto the face from a more useful angle.
It’s a practical combination, but it needs a little balance. If the bounced light becomes too strong or seems at odds with the light in the rest of the scene, the result can start to feel artificial.
Diffusion is another option. Placing diffusion material between the sun and the subject softens the direct sunlight. It can give a natural-looking result because the light still comes from the sun’s general direction, just with less harshness.
The trade-off is that diffusion isn’t always the simplest approach outdoors. Large frames can catch the wind, take time to set up and need suitable support and enough crew to handle them safely.
There isn’t one setup that works for every shoot. The right choice depends on the scene, the available space, the size of the crew and how much time there is to work.
Keeping the look consistent
Outdoor light changes throughout the day. A shot filmed at 9am can look very different from one filmed at midday or 1pm.
This matters when several interviews need to cut together and feel like part of the same story. If one interview is soft and even while another has harsh overhead shadows, the final video can feel less cohesive.
The light can also change during a single interview. That lovely patch of shade you started in might not stay there for the whole conversation. Passing clouds can also change the brightness, contrast and colour of the image, making cuts between answers more noticeable.
Planning the shoot around the sun helps reduce these problems. It can be useful to group similar shots together, check where shadows will fall and allow time to adjust the setup if the light changes.
On days when clouds are moving in and out, you may need to pause and wait for the light to match. Sometimes that means waiting for a gap in the clouds. Other times it means waiting for cloud cover again so the look stays consistent.
A little patience on the day can save a lot of compromise in the edit.
Planning for the conditions
A successful outdoor shoot comes down to preparation and flexibility.
Check the sun path and weather forecast before the shoot. Think about where people will stand, where the camera will go and how the light will move throughout the day. Bring the tools your crew can comfortably manage, and have an alternative spot in mind if your first choice stops working.
Outdoor filming can look effortless when it is done well. But it takes a lot of small decisions to shape what the viewer sees, along with the ability to adapt when the sun has other ideas.

Related Posts
5 tips for making thought leadership content more engaging
When planning thought leadership content, the topic, guests, conversation and…

How many cameras do you need for a video interview?
Extra cameras can help hide edits, add visual variety and capture natural…
When should you use a paper backdrop for video?
A paper backdrop is a simple way to add colour and create a clean, consistent…