BTS – Nectar Stop Frame Shoot (Part 1)
A behind the scenes look at our Nectar Cold Pressed Juices stop frame animation shoot.
BTS – Nectar Stop Frame Shoot (Part 2)
A quick walk through on how to edit your stop frame images in Adobe After Effects.
Nectar Stop Frame Shoot – Video Transcript
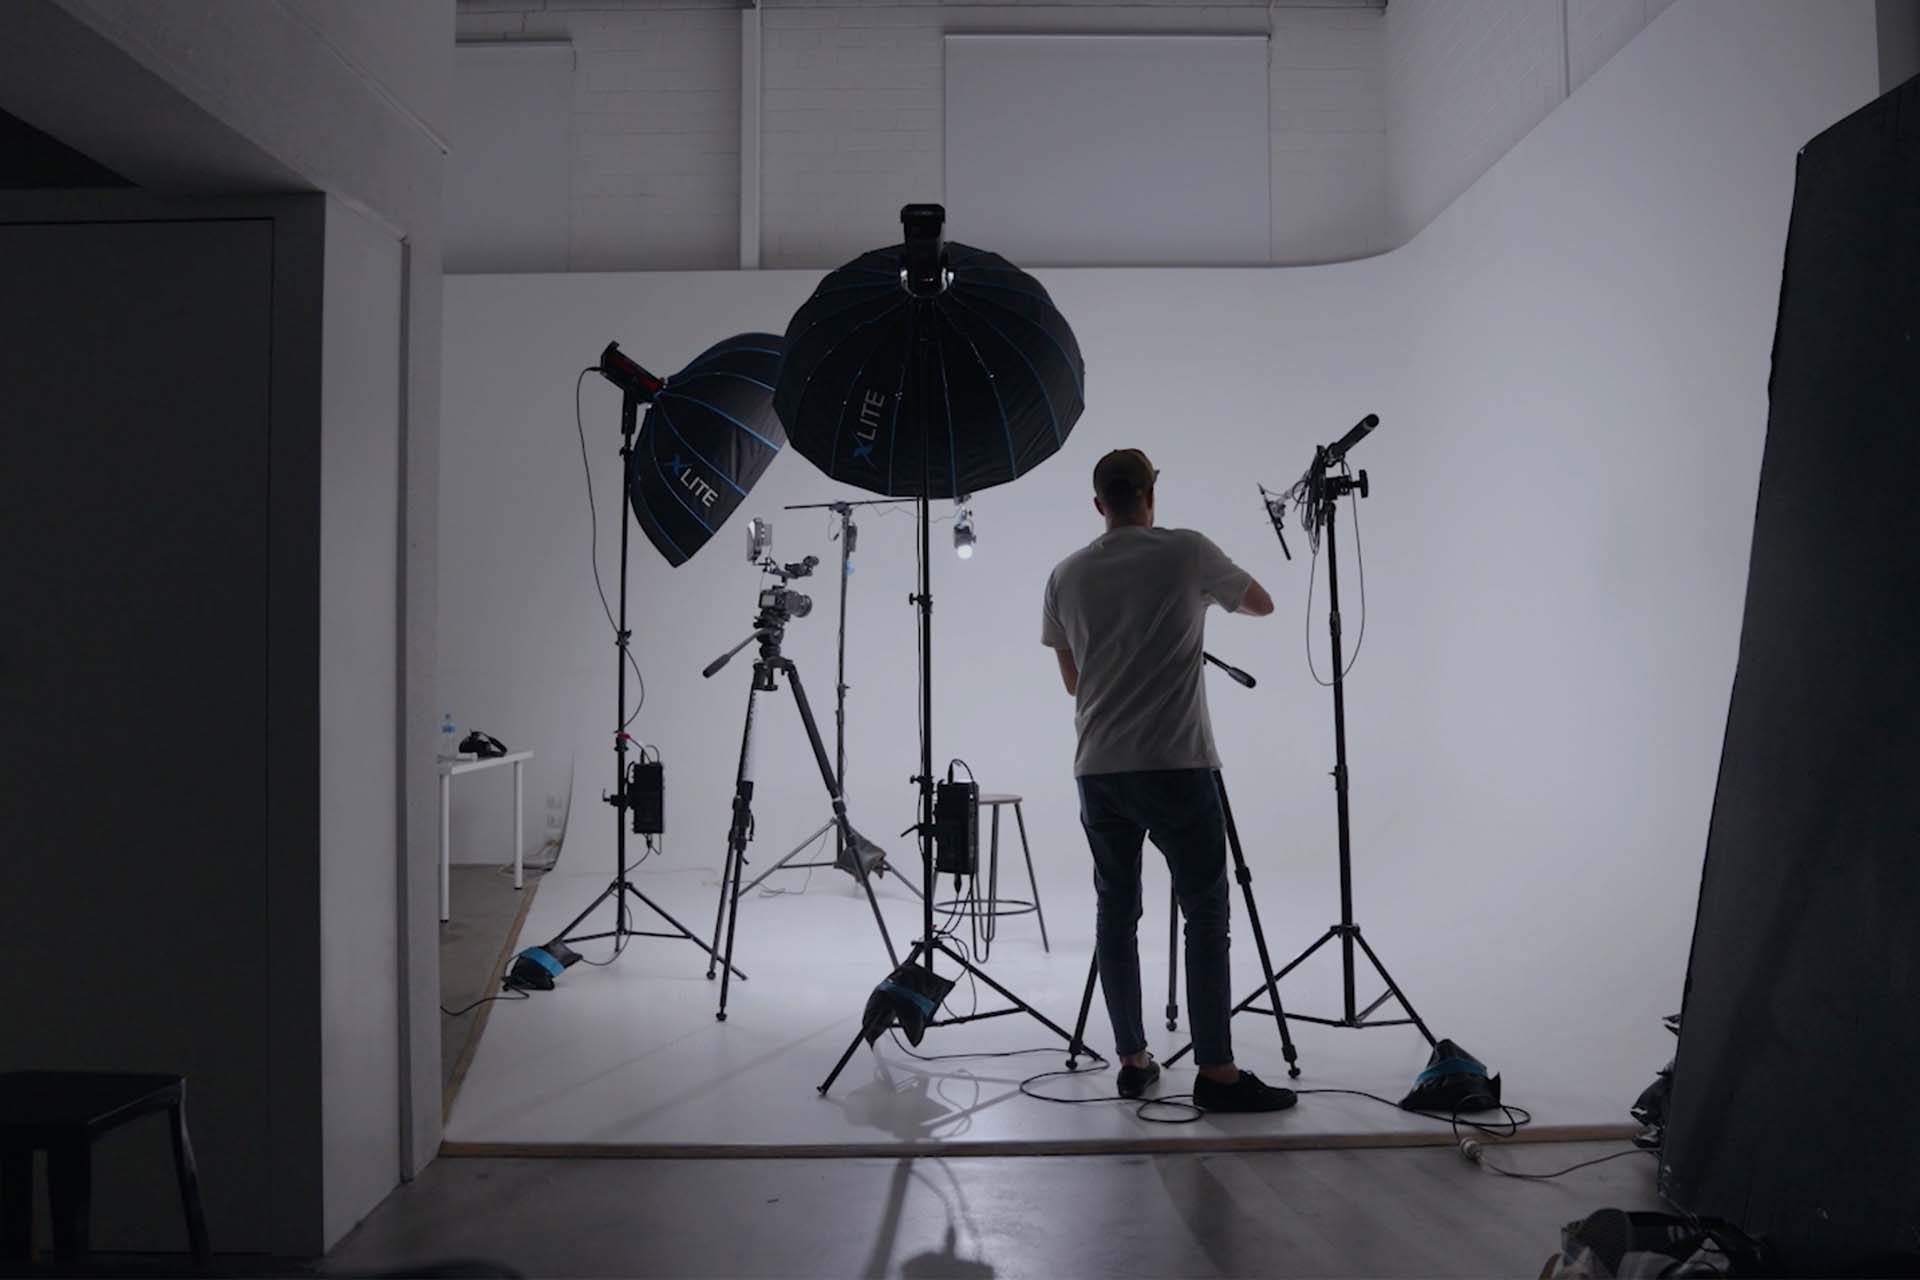
We are on set today and we are filming an awesome stop frame for Nectar Cold Pressed Juices.
Okay, so this is our set up for the afternoon. We’ve got a camera on an overhead rig, so we’re going to be shooting down flat lay, and we’re going to be animating the oranges and the different elements and orange segments across, on the table here.
We’re plugged into the laptop through a tether lead, so anything we shoot, we’re going to overlay the last shot onto the next shot so we can see if any moves we make are too big or too small.
We’re going to try and stick to moves up to a centimetre. You can go faster than that or further than that and it’ll speed things up, but to keep that detail and show the rotation of the orange when we build it in, one centimetre is probably about right.
Okay, so the final shot is sown and I’ll show you what we’ve got here. We’ve gone for an effect where they’re going to fly on.
So we did it working backwards where they fly out, and then we had a hand take the bottle out. But when we have it played back, it’s going to be put in the bottle in.
All right, last shot of the day. We are working with some beautiful orange, lovely smelling snakes that are going to… or a snake that is going to weave its way through a nice big S-curve down the paper.
So we’ll start off with our rolling oranges. We have the snake S-curve. And then we’re going to have a hand dropping off the bottle, oranges joining it, and then leaves growing out. So looking forward to pulling this one together.
Alright, that’s a wrap for today. And then we’re going to head back to post and finish this baby off.
Nectar Juices. Yummo.
Nectar Stop Frame Editing – Video Transcript
Okay, we are back in the MOCO office, we’ve got Adobe After Effects open, and we’re just finessing the last stages of the stop frame. I thought this would be a good point to take you through the process for the editing of a stock frame. And how you get the still images from the shoot, put them together in After Effects and create that nice stock frame Video. So let’s take a look.
Okay. So the first thing you need to know when bringing image sequences into Adobe After Effects is they all need to be sequential. So what do I mean by that? if we take a look at the orange wipe shot, this is all the original images that we’ve pulled together. So there’s a sequence there about 61 images. what you’ll see though in this one, there was a case where we deleted one of the images and we went back and reshot it.
So there is a gap between 1902, sorry, 1903 and 1905, so 1904 is missing. If you bring that into After Effects, it will show up as a blank frame so it won’t work. So what you need to do before bringing any of your images in is to make sure (and you can use Automator on a mac to rename them) but make sure everything’s sequential.
Once you’ve got that, you can click on your folder of images and drag it into your assets folder, and it imports into After Effects an orange wipe sequence.
Okay. So before we do anything with our image sequence we need to right click it, interpret it and make sure we’ve got our correct frame rate set. So naturally bringing it into a project, it’s set it as 25 frames per second, which is the standard here in Australia.
What we do have a stop frame though, is typically work between 10 and 15 seconds to give it that jumpy, jerky look. So we’ll start off with 10. Okay.
What we’ll do now is we’ll bring our project into a new sequence. This is, 1080 by 1920 composition. This is the ratio we shot at. So I’m just going to have to hit scale and bring this down in size to match.
Now as you can see here, the 61 frames we’ve got on the image sequence for our orange wipe at 10 frames per second have given us 6 seconds of video. Now, here’s the tricky part. If you need your clip to be, say, three seconds, but you’ve got 6 seconds of footage, what do you do?
The die hard stop frame is out there would say this is something that needs to have been built into the shoot. If you know you needed to have a 3 second clip, then 3 seconds at 10 frames per second is 30 frames. So any transition that you build from start to finish would have had to have been done in 30 frames.
Now we’ve completed this in 60 frames or 61 frames. So what do you do from here? Well, there are two options. The first, you go back to your finder, and then you can do something called clip binning where you go through. And every alternate take you could reduce these. And that will give you in this case 32 or 31 frames. which would come under the 30 seconds.
My preference though is to let After Effects do the work for me. So what I’ll do in this case, I will change the interpretation of the frame rate to try and get my shots down to the correct length. So let’s say I go 20 frames per second. That’ll get me down to 3 seconds. I’m then going to go to my effects panel, and I’m going to add in a Posterize Time effect. And here I can set the frame rate to 10 frames per second.
Now some might call this cheating, but what this is going to do is the After Effects go through and work out that if it wanted to move at 10 frames per second, it will go through and it will bin the clips for me.
And now we have a 3 second video that’s playing back at 10 frames per second. And here is a look now at the final video.
Jimmy Kyle
Jimmy Kyle is a Director and Content Producer focused on storytelling and advertising. He creates impactful, engaging content that connects with audiences.
Related Posts
October 11, 2024
How to introduce yourself with video
Video intros are an amazing way to get attention. They’re an awesome sales tool…
October 11, 2024
Camera Angles
Piece to cameras are great for Company Announcements, Presentations and…
October 11, 2024
Piece to camera lighting
Learn how to set-up the lighting for your next piece to camera video. In this…


