Content Maker Tips: Piece to Camera Lighting
Learn how to set-up the lighting for your next piece to camera video. In this video we cover off 3 point lighting and show you how to set up your key light, fill light and back light.
Video Transcript
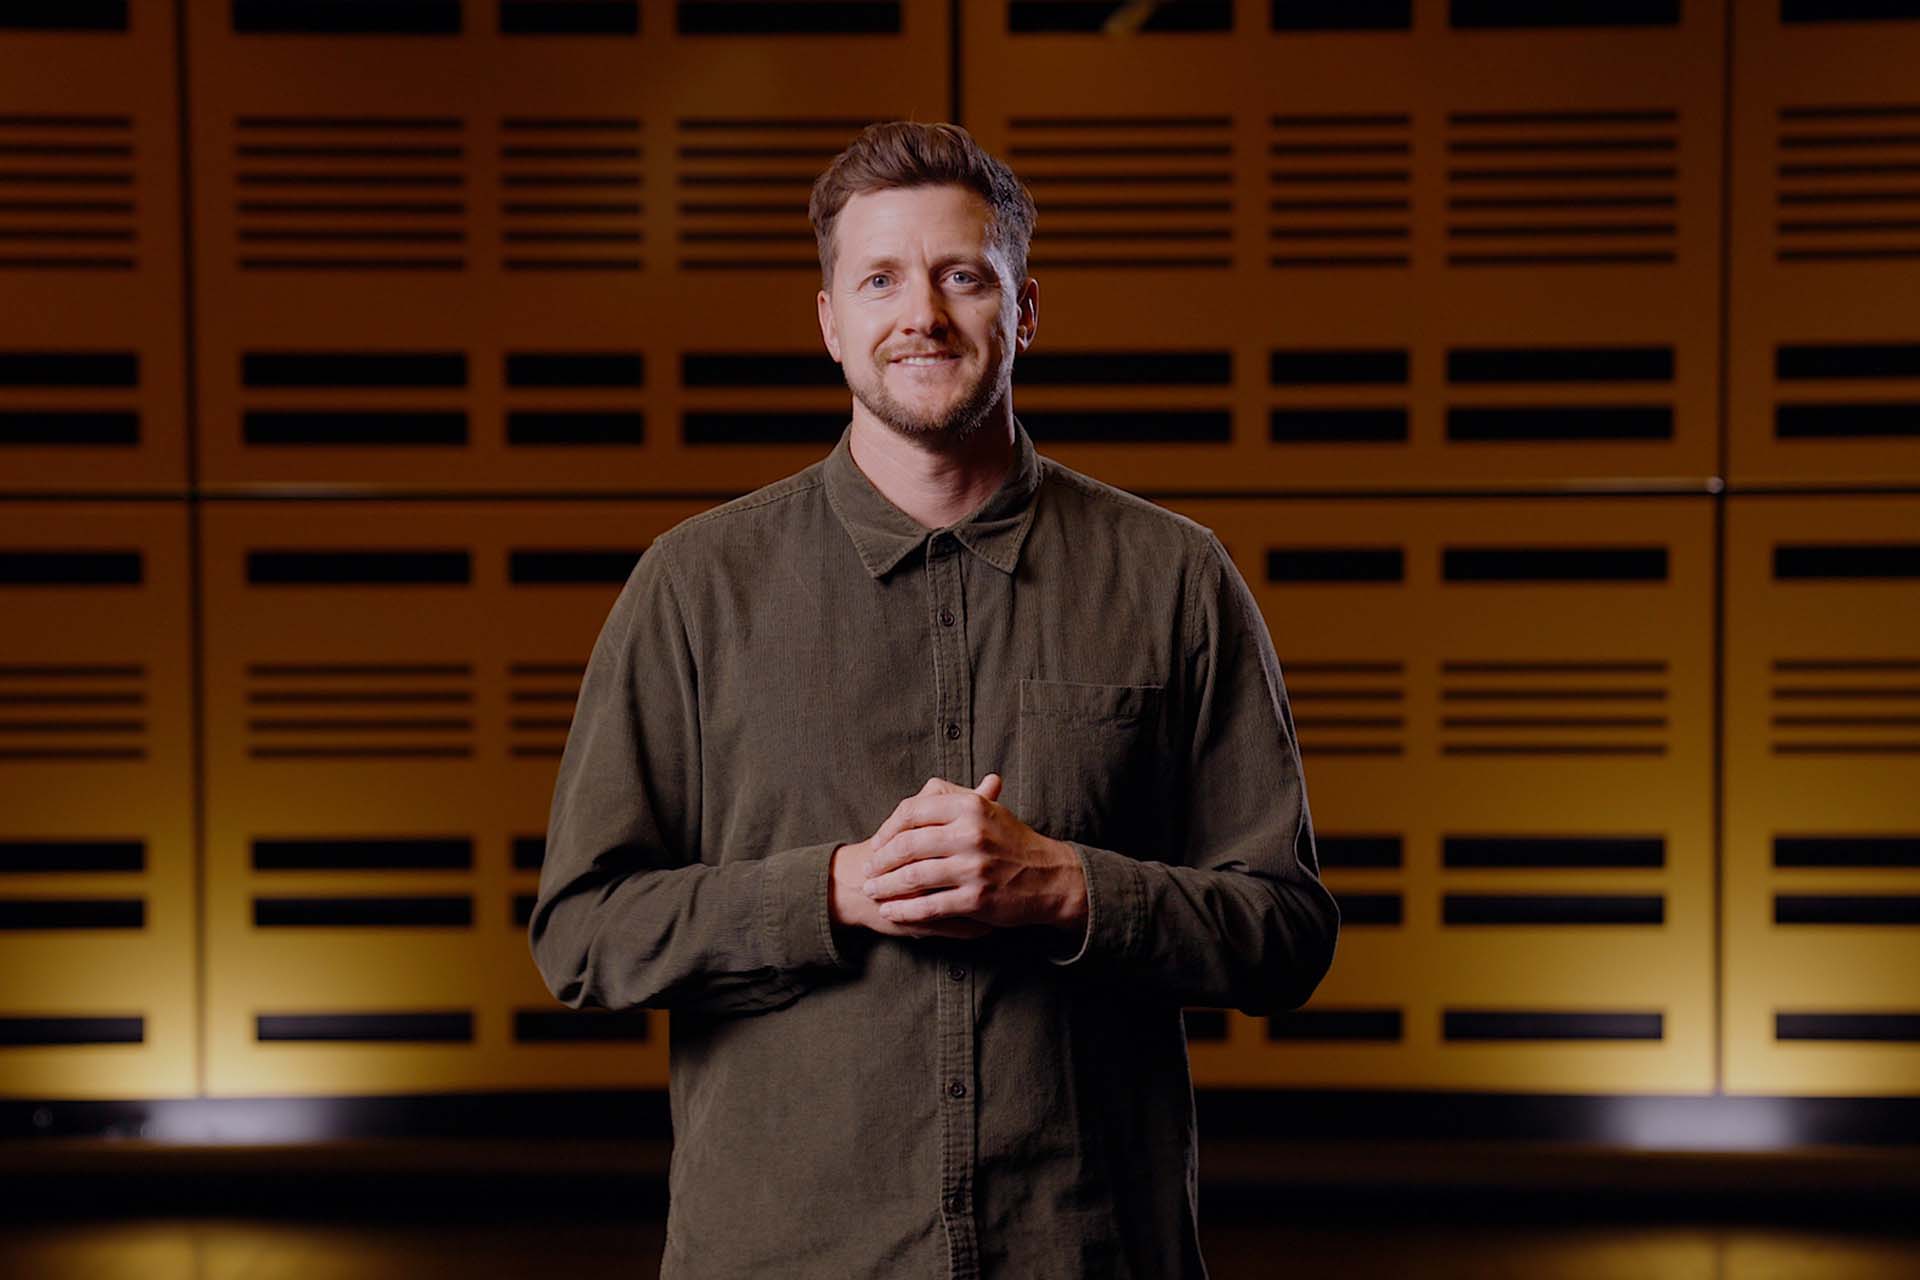
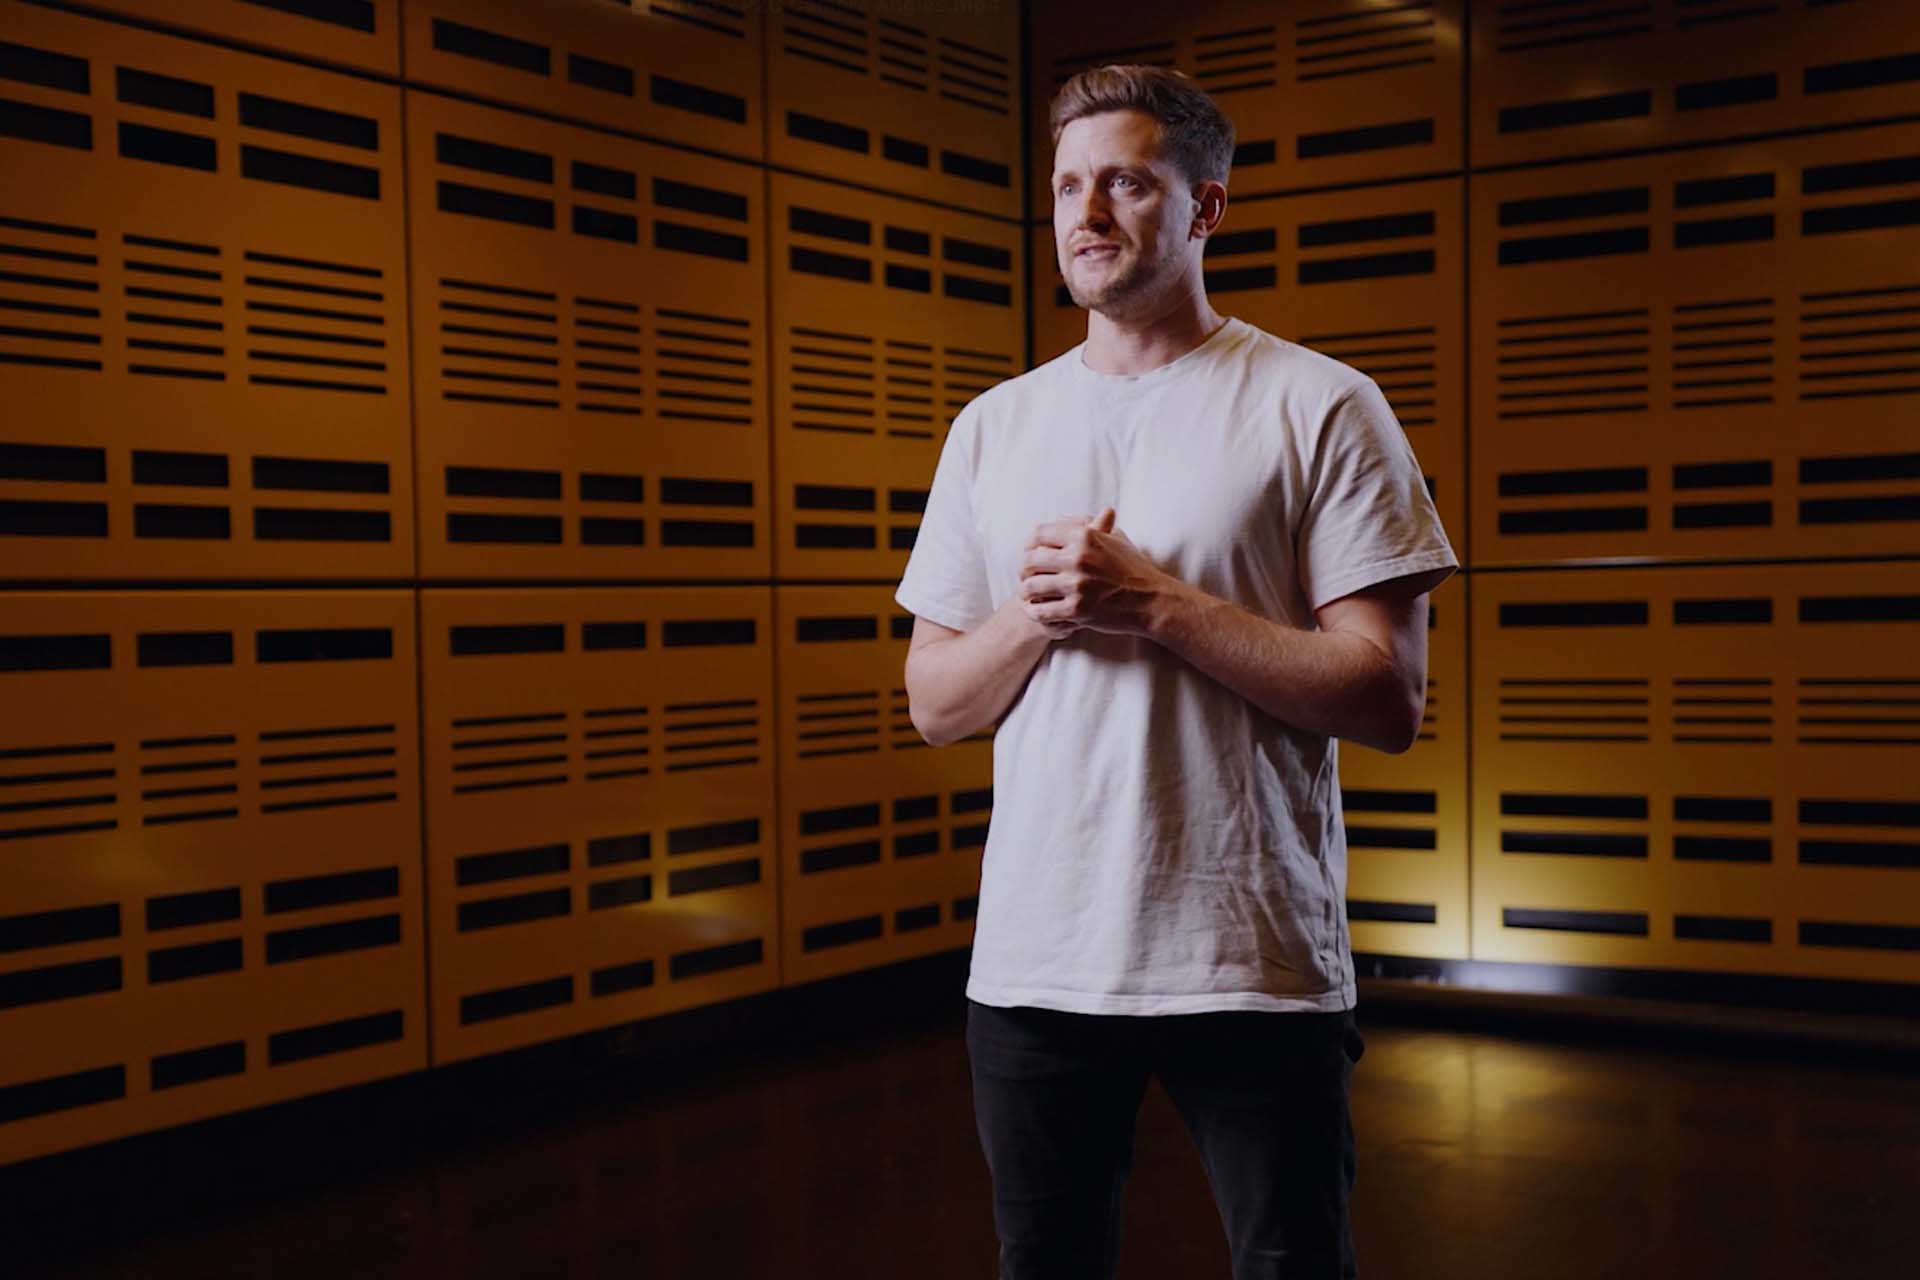
Hey guys, it’s Jimmy from MOCO here. And today we’re going to be taking you through what’s involved in a lighting setup for piece to cameras or video interviews.
So if you’re producing or shooting your own talking heads, you’ll hopefully find this video useful/ And we’ll be focusing on using artificial light sources and shooting indoors. All right, let’s get into it.
The first lighting decision you’ll need to make for your shoot will be the location and your backdrop. We always try and avoid shooting with windows behind us. So whilst your office may have a beautiful view of Sydney Harbour, a bright background is really hard to light against. It often leaves your subject looking flat and pulls the viewer’s focus away from them.
With a backdrop and set up like we have behind us today, you have full control over your lighting and the amount and direction of light hitting your subject, so it’s much easier to work with. Now, to show you how everything comes together, we’re going to turn off our lights and turn them back on one at a time.
The first light source to come back on is going to be our main light source, the key light. This is positioned a little above me and on a 45 degree angle. So the light falls down and across my face. We’ve also added a diffuser and an egg crate to the front to help soften the light.
By softening the light, it becomes more complimentary, wraps nicely around the face and helps our image as a whole look more three dimensional and interesting. Now, if you’re starting out or pushed for time, a single soft light could be all you need. It does probably about 90% of the work, but we’re going to finesse things a little more with a three point lighting setup.
We’re next going to turn on the backlight we’ve got set up behind me. This is pointed at the back of my head and shoulders and when turned on helps give me a bit more separation from the background.
Then last of all, we’re going to turn on our fill light. Now, the purpose of this light is to fill in and balance out the darker side of your subject’s face. So it’s up to you how far you take this. A bright key light and no fill light will give you a high contrast dramatic image.
Whilst a fill light that’s almost as bright as your key light, will give you a low contrast image that’s much flatter, softer and that feels more relaxed.
There’s no right or wrong ratio here. Just consider your content, the mood of the video you’re creating and what style will best suit.
Okay so for a recap we’ll show you those lights once again on their own. The key light, the backlight and the fill light. And here they are building on again.
All right, that’s it for today. If you’re shooting your own piece to camera content, hopefully you’ve found this useful. If so, give this video a like or share and if you have any questions just drop us a comment.
Jimmy Kyle
Jimmy Kyle is a Director and Content Producer focused on storytelling and advertising. He creates impactful, engaging content that connects with audiences.
Related Posts
October 22, 2024
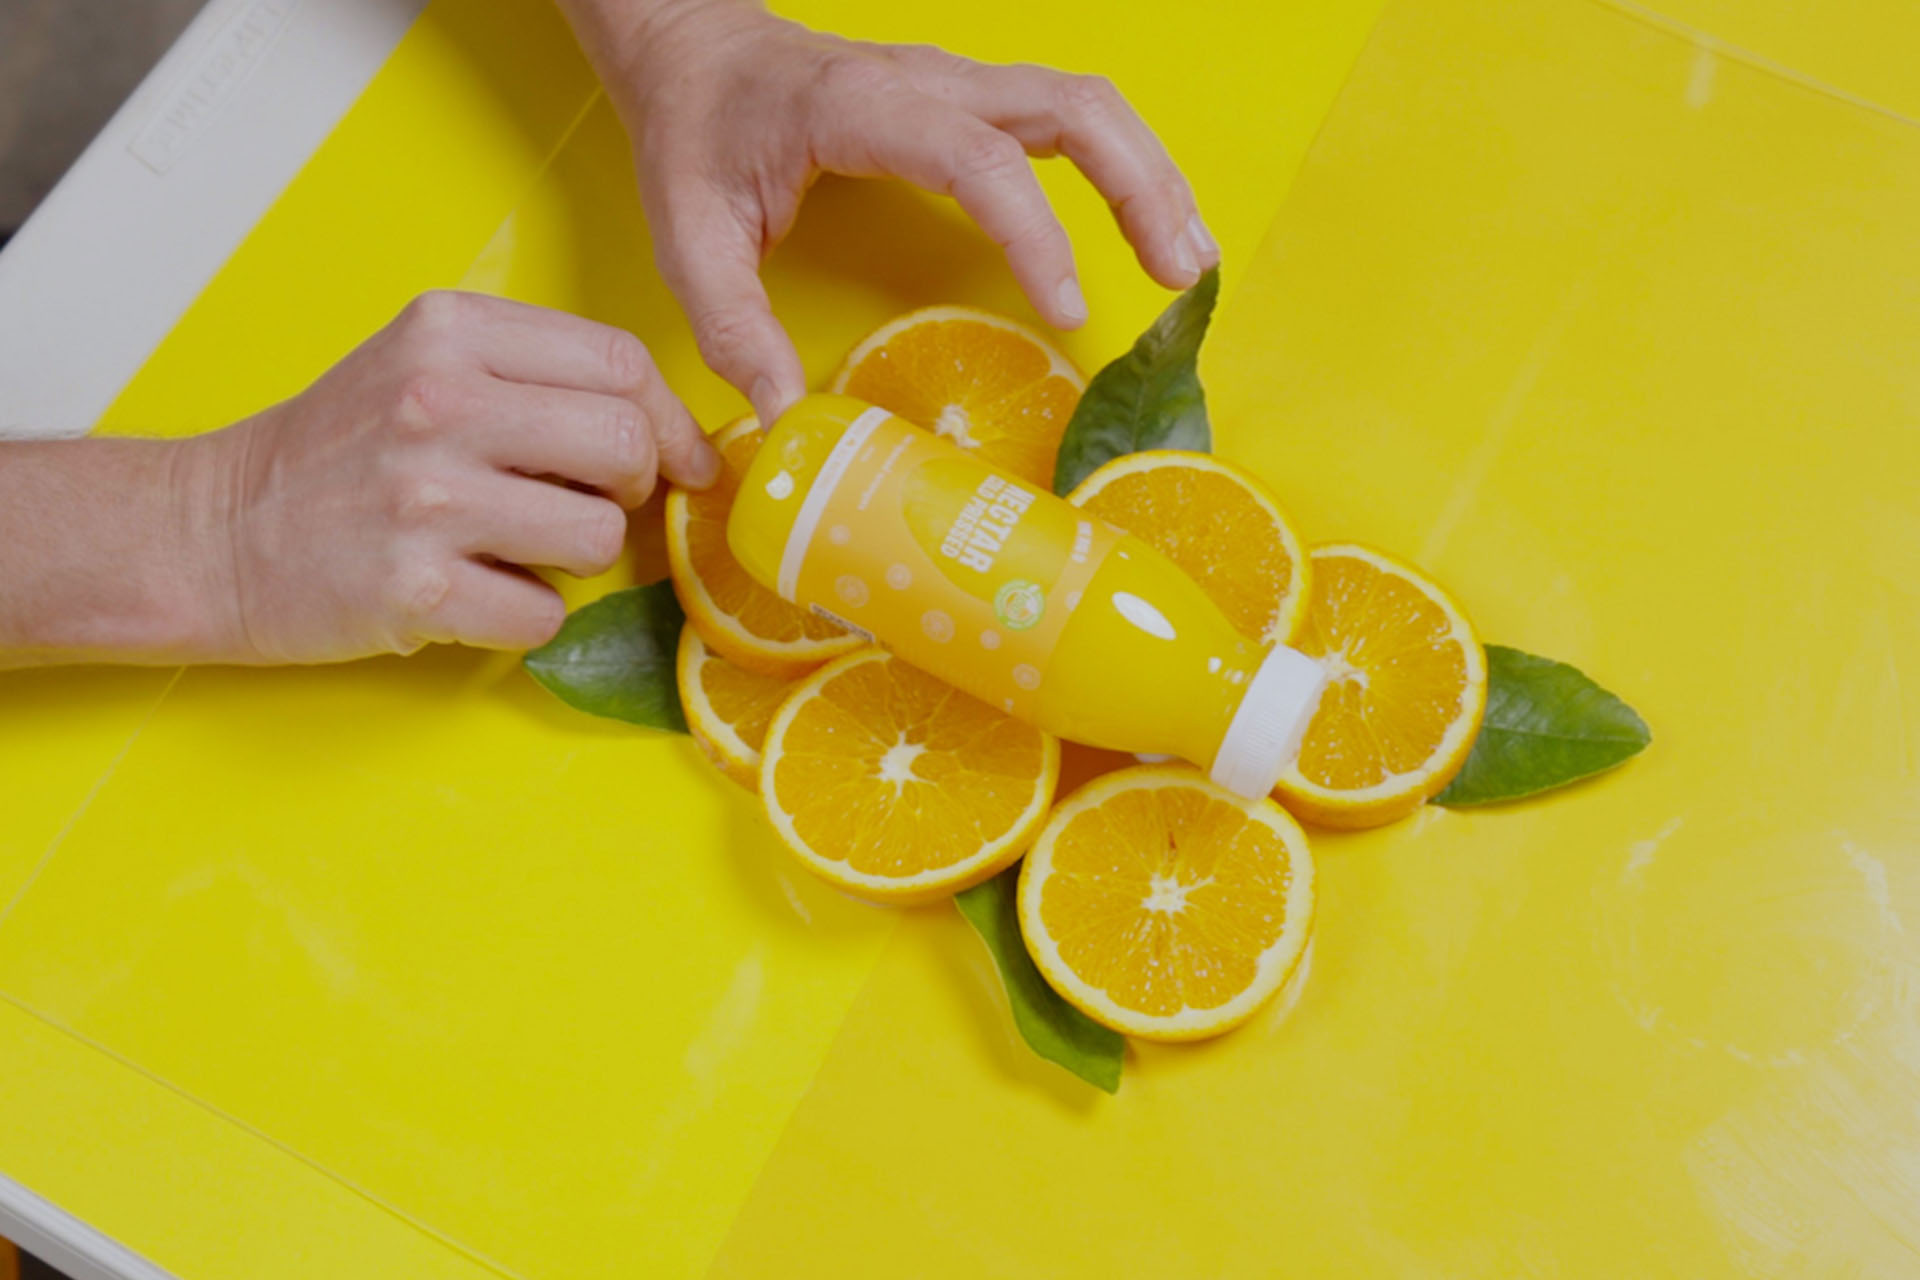
BTS – Nectar Stop Frame Shoot
Video intros are an amazing way to get attention. They’re an awesome sales tool…
October 11, 2024
How to introduce yourself with video
Video intros are an amazing way to get attention. They’re an awesome sales tool…
October 11, 2024
Camera Angles
Piece to cameras are great for Company Announcements, Presentations and…